As I sat down to write about a delectable treat like treasure chest bars, memories of my childhood flooded back. These delicious, gooey bars have always held a special place in my heart, evoking feelings of warmth and joy.
Today, I invite you to join me on a culinary adventure as we explore the intricacies of this mouthwatering dessert.
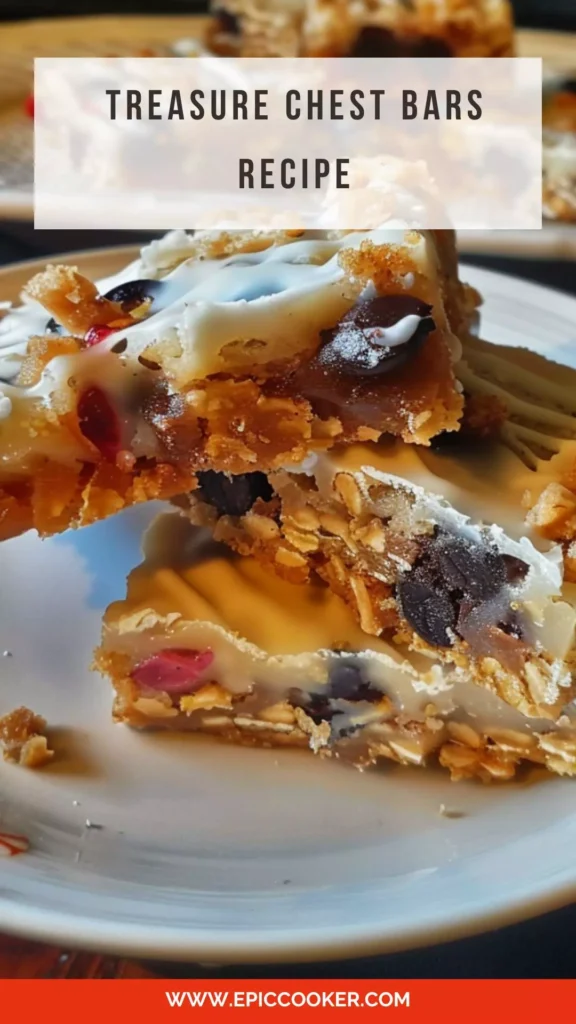
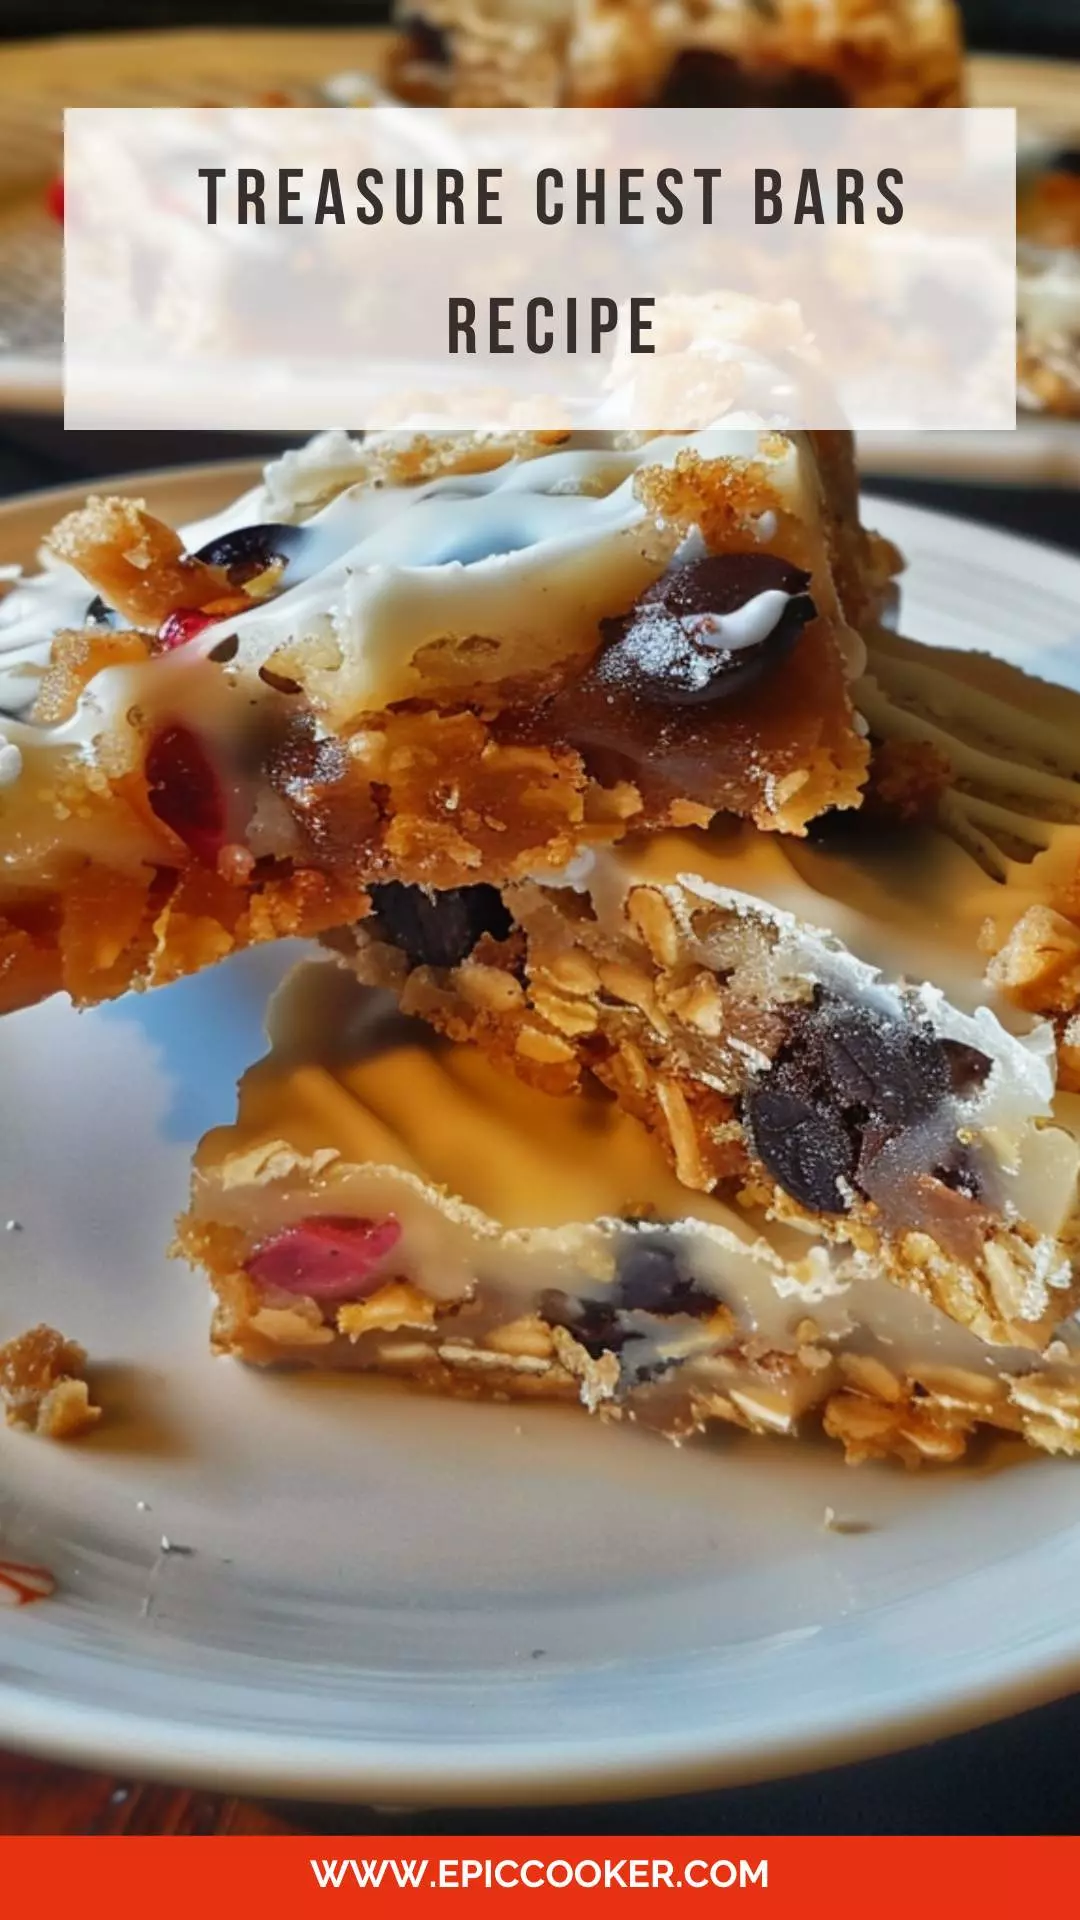
What is Treasure Chest Bars?
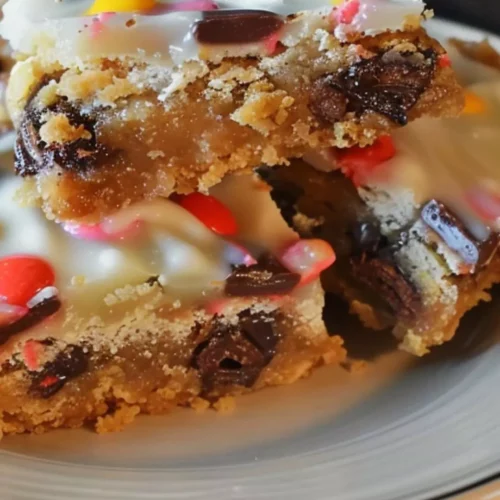
Imagine a treasure trove of flavors and textures packed into a single, irresistible bite – that’s precisely what treasure chest bars offer. These indulgent bars are a perfect blend of sweet and nutty, with a hint of chocolate that leaves your taste buds craving for more.
The combination of buttery dough, rich chocolate chips, tart cherries, and crunchy nuts creates a symphony of flavors that will transport you to dessert heaven with every bite.
Why This Recipe Works?
1. Perfect Balance of Sweetness: The recipe strikes the ideal balance between the natural sweetness of cherries and the added sugars, resulting in a dessert that is sweet but not cloying.
2. Texture Contrast: The incorporation of chopped nuts adds a delightful crunch to the otherwise soft and gooey bars, lending a textural contrast that elevates the overall eating experience.
3. Versatility: Treasure chest bars are incredibly versatile and can be enjoyed as a decadent dessert, a sweet snack, or even as a special treat for gatherings and celebrations.
4. Ease of Preparation: Despite its impressive taste and appearance, this recipe is surprisingly easy to make, making it suitable for both experienced bakers and novices looking to impress with minimal effort.
You’ll also like the following Dessert recipes!
Ingredients You’ll Need:
For the Cookie Dough:
- Butter, Room Temperature: Butter is the base of the cookie dough. Its creamy texture and rich flavor provide the foundation for the bars, contributing to their soft and indulgent texture.
- Sugar: Sugar sweetens the cookie dough, providing sweetness and enhancing the flavor of the bars. It also helps to create a tender texture and promotes browning during baking.
- Brown Sugar: Brown sugar adds moisture and depth of flavor to the cookie dough. Its molasses content contributes to a chewy texture and a rich, caramel-like taste.
- Flour: Flour serves as the main dry ingredient in the cookie dough, providing structure and binding the other ingredients together. It gives the bars their structure and helps them hold their shape.
- Baking Powder: Baking powder is a leavening agent that helps the bars rise and become light and fluffy. It creates a soft and tender texture in the cookie dough, ensuring that the bars are not too dense.
- Salt: Salt enhances the flavor of the cookie dough, balancing the sweetness and adding depth. It also helps to strengthen the gluten in the flour, contributing to the overall texture of the bars.
- Milk: Milk adds moisture to the cookie dough, making it softer and more tender. It also helps to bind the ingredients together and create a cohesive dough.
- Vanilla: Vanilla extract adds flavor to the cookie dough, enhancing its overall taste profile. It provides a warm and aromatic flavor that complements the other ingredients.
- Eggs: Eggs act as a binder in the cookie dough, helping to hold the ingredients together and create a cohesive texture. They also add moisture and richness to the bars.
- Chocolate Chips (Semisweet): Chocolate chips add richness and sweetness to the bars. They melt into the dough during baking, creating pockets of gooey chocolate that make the bars irresistible.
- Maraschino Cherries, Drained and Chopped: Maraschino cherries add a pop of color and sweetness to the bars. Their bright red hue and fruity flavor complement the chocolate and nuts, adding a festive touch to the bars.
- Nuts (Walnuts or Pecans), Chopped: Nuts add crunch and texture to the bars. They provide a contrast to the soft cookie dough and gooey chocolate, adding depth and complexity to the bars’ texture and flavor.
For the Icing:
- Powdered Sugar: Powdered sugar forms the base of the icing, providing sweetness and a smooth texture. It creates a thick and creamy glaze that adds sweetness and visual appeal to the bars.
- Soft Butter: Soft butter adds richness and creaminess to the icing. It helps to create a smooth and spreadable consistency, allowing the icing to coat the bars evenly.
- Milk: Milk thins out the icing and helps achieve the desired consistency. It adds moisture and richness to the icing, making it smooth and creamy.
- Vanilla: Vanilla extract enhances the flavor of the icing, adding a hint of warmth and sweetness. It complements the other ingredients in the icing, tying together the flavors of the bars.
- Unsweetened Chocolate Square: Unsweetened chocolate adds depth and richness to the icing. Its intense chocolate flavor balances out the sweetness of the powdered sugar, creating a decadent and delicious glaze for the bars.

Step by Step Directions:
Step 1: Preheat and Prep
Start by preheating your oven to 350°F (175°C). Then, grease and flour a 15x10x1-inch jelly roll pan to ensure the bars don’t stick during baking.
Step 2: Cream the Butter and Sugars
In a large mixing bowl, cream together the softened butter, granulated sugar, and brown sugar until the mixture is light and fluffy. This step ensures a smooth and creamy texture for the bars.
Step 3: Combine Dry and Wet Ingredients
Add the flour, baking powder, salt, milk, vanilla extract, and eggs to the creamed butter and sugars. Mix everything together at medium speed until a smooth batter forms. This combination of ingredients creates the base for your bars.
Step 4: Incorporate Cherries, Chocolate Chips, and Nuts
Gently fold in the chopped maraschino cherries, chocolate chips, and chopped nuts into the batter. This adds delightful bursts of flavor and texture to the bars, making each bite a treasure trove of deliciousness.
Step 5: Spread and Bake
Transfer the batter into the prepared jelly roll pan, spreading it out evenly with a spatula. Place the pan in the preheated oven and bake for 25 to 30 minutes or until the bars are golden brown and a toothpick inserted into the center comes out clean.
Step 6: Prepare the Icing
While the bars are baking, prepare the icing by combining powdered sugar, softened butter, milk, and vanilla extract in a small bowl. Mix until smooth and creamy, ready to be spread over the warm bars.
Step 7: Drizzle with Chocolate
Once the bars are done baking, remove them from the oven and immediately spread the prepared icing evenly over the warm bars. Then, melt the unsweetened chocolate square and drizzle it over the icing in decorative patterns for an added touch of indulgence.
Step 8: Cool and Serve
Allow the bars to cool completely in the pan before cutting them into squares or rectangles. Once cooled, these delightful Treasure Chest Bars are ready to be enjoyed as a sweet treat for any occasion.
Tips & Tricks:
– Room Temperature Ingredients: Ensure that the butter and eggs are at room temperature to achieve a smoother batter consistency.
– Chop Ingredients Uniformly: Chop the cherries and nuts into consistent sizes for even distribution throughout the bars.
– Avoid Overmixing: Be gentle when folding in the mix-ins to prevent a tough texture in the final bars.
– Adjust Sweetness: Feel free to tweak the amount of sugar based on your preference for sweetness.
– Storage: Store leftover treasure chest bars in an airtight container at room temperature for up to 3 days or in the refrigerator for extended freshness.

Nutrition Information:
(Serving Size: 1 bar)
- Calories: 220
- Total Fat: 11g
- Saturated Fat: 4g
- Cholesterol: 35mg
- Sodium: 150mg
- Total Carbohydrates: 28g
- Dietary Fiber: 1g
- Sugars: 18g
- Protein: 3g
How Do You Store The Leftovers?
To store leftover treasure chest bars, place them in an airtight container lined with parchment paper to prevent sticking. Store at room temperature for up to 3 days or refrigerate for longer shelf life. Before serving refrigerated bars, allow them to come to room temperature to regain their chewy texture.
What sides would complement Treasure Chest Bars?
1. Vanilla Ice Cream: The cool, creamy texture of vanilla ice cream provides a delightful contrast to the warm, gooey bars.
2. Fresh Berries: A side of fresh berries, such as raspberries or strawberries, adds a refreshing and fruity element that balances the richness of the bars.
3. Whipped Cream: Dollop a generous swirl of whipped cream on top of the bars for an added lightness and a touch of indulgence.
What alternatives can you use for the ingredients if they are not present in your kitchen?
1. Butter: Substitute butter with an equal amount of margarine or coconut oil for a dairy-free option.
2. Maraschino Cherries: Dried cranberries or chopped dried apricots can be used as a tart substitute for maraschino cherries.
3. Chocolate Chips: Chopped chocolate chunks or cocoa nibs can replace chocolate chips for a more intense cocoa flavor.
4. Nuts: Sunflower seeds or pumpkin seeds can be used in place of nuts for a nut-free variation.
Treasure Chest Bars Recipe
Equipment
- 15x10x1-inch jelly roll pan
- Mixing bowls
- Electric mixer or hand whisk
- Spatula
- Toothpick or cake tester
- Small bowl for icing preparation
- Spoon for drizzling chocolate
Ingredients
- 2 cups flour
- 6 ounces chocolate chips I like semisweet.
- 1/2 cup brown sugar
- 1/2 cup butter room temperature
- 1 cup maraschino cherry drained and chopped
- 2 eggs
- 1 cup chopped nuts I like walnuts or pecans.
- 1 teaspoon vanilla
- 1 1/2 teaspoons baking powder
- 1/2 cup sugar
- 3/4 cup milk
- 1/2 teaspoon salt
- 1/2 teaspoon vanilla
- 2 cups powdered sugar
- 2 -3 tablespoons milk
- 1/2 unsweetened chocolate square
- 2 tablespoons soft butter
Instructions
- Start by preheating your oven to 350°F (175°C). Then, grease and flour a 15x10x1-inch jelly roll pan to ensure the bars don’t stick during baking.
- In a large mixing bowl, cream together the softened butter, granulated sugar, and brown sugar until the mixture is light and fluffy. This step ensures a smooth and creamy texture for the bars.
- Add the flour, baking powder, salt, milk, vanilla extract, and eggs to the creamed butter and sugars. Mix everything together at medium speed until a smooth batter forms. This combination of ingredients creates the base for your bars.
- Gently fold in the chopped maraschino cherries, chocolate chips, and chopped nuts into the batter. This adds delightful bursts of flavor and texture to the bars, making each bite a treasure trove of deliciousness.
- Transfer the batter into the prepared jelly roll pan, spreading it out evenly with a spatula. Place the pan in the preheated oven and bake for 25 to 30 minutes or until the bars are golden brown and a toothpick inserted into the center comes out clean.
- While the bars are baking, prepare the icing by combining powdered sugar, softened butter, milk, and vanilla extract in a small bowl. Mix until smooth and creamy, ready to be spread over the warm bars.
- Once the bars are done baking, remove them from the oven and immediately spread the prepared icing evenly over the warm bars. Then, melt the unsweetened chocolate square and drizzle it over the icing in decorative patterns for an added touch of indulgence.
- Allow the bars to cool completely in the pan before cutting them into squares or rectangles. Once cooled, these delightful Treasure Chest Bars are ready to be enjoyed as a sweet treat for any occasion.
Notes
- Room Temperature Ingredients: Ensure that the butter and eggs are at room temperature to achieve a smoother batter consistency.
- Chop Ingredients Uniformly: Chop the cherries and nuts into consistent sizes for even distribution throughout the bars.
- Avoid Overmixing: Be gentle when folding in the mix-ins to prevent a tough texture in the final bars.
- Adjust Sweetness: Feel free to tweak the amount of sugar based on your preference for sweetness.
- – Storage: Store leftover treasure chest bars in an airtight container at room temperature for up to 3 days or in the refrigerator for extended freshness.
Nutrition
Frequently Asked Questions:
Q1. Can I use fresh cherries instead of maraschino cherries?
Fresh cherries can be used, but be sure to pit and chop them before adding to the recipe. Adjust the sugar content based on the sweetness of the fresh fruit.
Q2. Can I freeze treasure chest bars?
Yes, you can freeze treasure chest bars in an airtight container for up to 2 months. Thaw them in the refrigerator overnight before serving.
Q3. Can I omit the nuts from the recipe?
While nuts add a delightful crunch, you can omit them if you have nut allergies or prefer a smooth texture. Increase the amount of chocolate chips or cherries as a substitute.
Q4. What can I use instead of eggs for a vegan version?
To make a vegan version, substitute the eggs with flax eggs (1 tbsp ground flaxseed + 3 tbsp water per egg) or store-bought egg replacers for baking.
Q5. Can I use almond flour instead of all-purpose flour for a gluten-free option?
Almond flour can be used as a gluten-free alternative, but note that the texture and density of the bars may differ slightly. Consider adding a binding agent like xanthan gum for better results.
Q6. Can I skip the icing for a less sweet option?
If you prefer a less sweet version, you can skip the icing altogether or reduce the amount of powdered sugar in the recipe. The bars will still be delicious without the extra sweetness.
Conclusion:
In conclusion, treasure chest bars are not just a dessert; they are a nostalgic journey back to simpler times filled with laughter and joy.
The harmonious blend of flavors and textures in each bite is a testament to the magic of baking and the joy of sharing delicious creations with loved ones. Whether you are a seasoned baker or a novice in the kitchen, this recipe promises to delight your senses and create lasting memories.
So, roll up your sleeves, gather your ingredients, and embark on a culinary adventure that is sure to leave you with a treasure trove of happy moments. Cheers to sweet indulgence and the simple pleasures of life!
You’ll also like these latest recipes!
- Mary Berry Chicken Liver Pate Copycat Recipe
- How to make Strawberry Dream Whip Pie
- Lipton Sun Tea Recipe