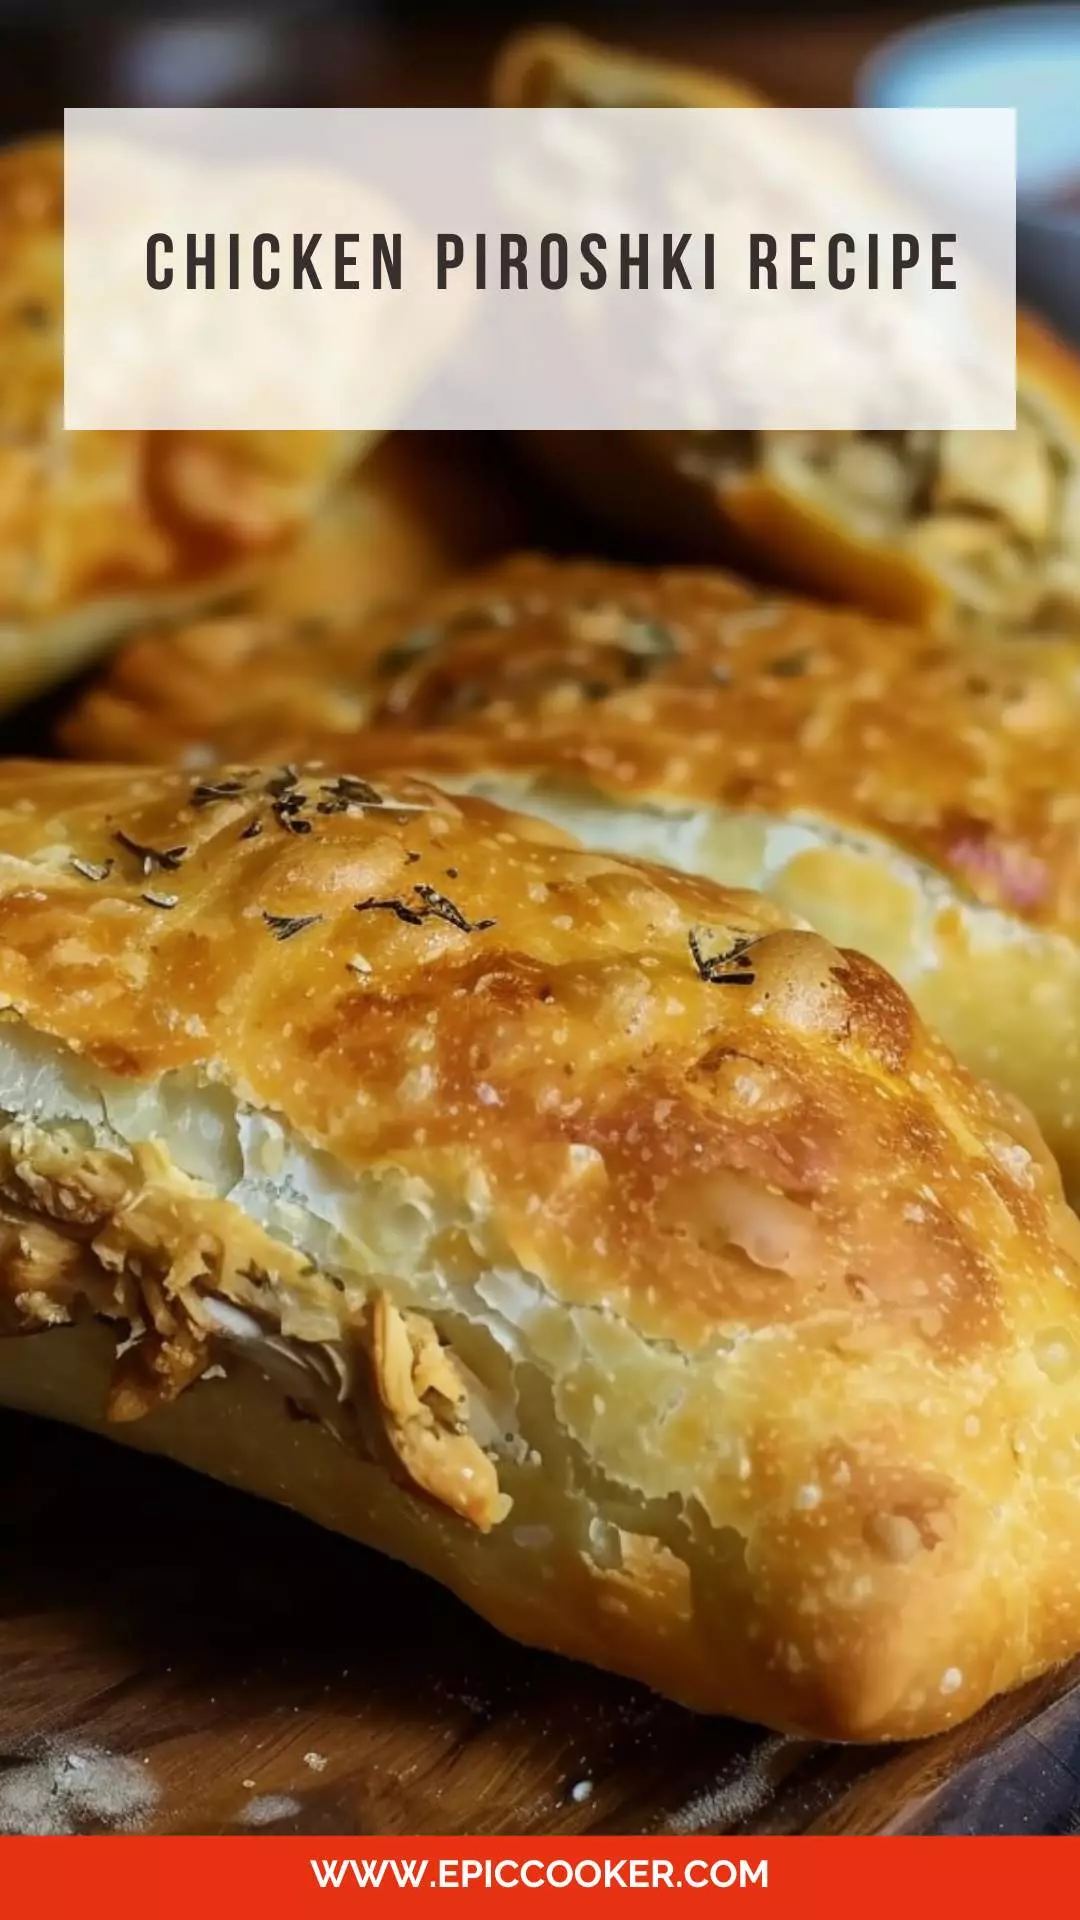
I vividly recall the first time I laid eyes on a plate of steaming hot chicken piroshki. The tantalizing aroma wafting through the air beckoned me closer, and with each bite, I was transported to culinary heaven. Join me on a journey as I unravel the mysteries of this beloved dish and share with you the secret behind its irresistible charm.

What is Chicken Piroshki? 🍗🥟
Chicken piroshki is a delightful Russian pastry that encases a savory filling of cooked chicken, sausage, spices, and creamy mayonnaise within a light, crispy dough. The word “piroshki” itself translates to “little pies” in Russian, and these golden parcels are indeed a treat for both the eyes and the taste buds.
Why This Recipe Works?
1. Flavor Explosion: The combination of tender chicken, flavorful sausage, aromatic spices, and gooey cheese creates a symphony of flavors in every bite.
2. Textural Contrast: The crispiness of the fried dough perfectly complements the creamy, melt-in-your-mouth filling, providing a delightful contrast of textures.
3. Ease of Preparation: Despite its gourmet appearance, chicken piroshki is surprisingly simple to make, making it a perfect dish for both novice and experienced cooks alike.
4. Versatility: This recipe allows for endless customization, enabling you to experiment with different fillings and spices to suit your preferences and dietary restrictions.
You’ll also like the following Appetizers recipes!
Ingredients You’ll Need:
- Whole Milk, Lukewarm: Whole milk serves as the liquid component in the dough for the piroshki. When warmed, it activates the yeast and helps the dough rise, resulting in a soft and fluffy texture.
- Yeast: Yeast is a leavening agent that helps the dough rise and become airy. It reacts with the sugar and warm milk to produce carbon dioxide, which creates bubbles in the dough, leading to a light and fluffy texture in the finished piroshki.
- Granulated Sugar: Granulated sugar provides food for the yeast and helps activate it. It also adds a subtle sweetness to the dough, balancing out the savory fillings.
- Olive Oil: Olive oil adds richness and moisture to the dough. It helps create a soft and tender texture in the piroshki while also contributing a hint of flavor.
- All-Purpose Flour: All-purpose flour forms the base of the dough. It provides structure and gluten development, resulting in a chewy and elastic texture once baked.
- Salt: Salt enhances the flavor of the dough and balances out the sweetness from the sugar. It also helps strengthen the gluten structure and improves the overall texture of the piroshki.
- Seed Oil, for Frying: Seed oil is used for frying the piroshki. It has a high smoke point, making it suitable for deep frying and ensuring that the piroshki cook evenly and develop a crispy exterior.
- Egg: An egg is used to glaze the piroshki before baking. It adds shine and color to the crust, giving the piroshki an attractive appearance once baked.
- Chicken, Cooked: Cooked chicken serves as one of the filling ingredients for the piroshki. It adds protein and savory flavor to the filling, making the piroshki more satisfying and delicious.
- Sausage: Sausage adds additional protein and flavor to the filling. It contributes a rich and savory taste that complements the other ingredients in the piroshki.
- Curry: Curry adds aromatic spices and depth of flavor to the filling. It provides warmth and complexity to the piroshki, giving them a distinctive and delicious taste.
- Coriander: Coriander adds freshness and herbal notes to the filling. It complements the other spices and ingredients, adding brightness to the overall flavor profile.
- Mayonnaise: Mayonnaise adds creaminess and moisture to the filling. It helps bind the ingredients together and adds richness to the flavor.
- Onion: Finely chopped onion adds sweetness and texture to the filling. It provides a contrast to the other ingredients and enhances the overall flavor profile of the piroshki.
- Mozzarella Cheese: Mozzarella cheese adds a gooey and melty texture to the filling. It adds richness and depth of flavor, making the piroshki more indulgent and satisfying.
- Black Pepper: Black pepper adds a hint of spice and heat to the filling. It enhances the other flavors in the piroshki and adds depth to the overall taste profile.
Step by Step Directions:
Step 1: Activate the Yeast and Prepare the Dough
- Begin by combining lukewarm whole milk, yeast, granulated sugar, and olive oil in a bowl. Stir the mixture well until the yeast is dissolved, then set it aside for 5-10 minutes to activate.
- Once the yeast is activated, add all-purpose flour and a pinch of salt to the bowl. Mix everything together until a dough forms.
Step 2: Knead the Dough
- Transfer the dough onto a floured surface and knead it for about 5-7 minutes until it becomes smooth and elastic. You can also use a stand mixer with a dough hook attachment for this step.
- Place the kneaded dough back into the bowl, cover it with plastic wrap, and let it rise in a warm place for about 1-1.5 hours, or until it doubles in size.
Step 3: Prepare the Chicken Filling
- While the dough is rising, prepare the chicken filling. In a separate bowl, mix together cooked chicken (cut into small cubes), sausage, curry powder, finely chopped coriander, mayonnaise, diced onions, grated mozzarella cheese, and black pepper. Ensure all ingredients are well combined.
Step 4: Assemble the Piroshki
- Once the dough has doubled in size, punch it down to release any air bubbles. Divide the dough into 8 equal portions.
- On a floured surface, roll out each portion of dough into a 10 cm round sheet. If the dough is sticky, dust it lightly with flour.
- Spoon a portion of the prepared chicken filling onto the center of each dough round.
Step 5: Seal and Shape the Piroshki
- Moisten the edges of each dough round with water using a pastry brush.
- Fold the dough rounds diagonally over the filling, forming triangle-shaped parcels. Press the edges firmly to seal the filling inside.
Step 6: Fry the Piroshki
- Heat seed oil in a frying pan over medium heat until hot.
- Carefully place the assembled piroshki in the hot oil, working in batches if necessary. Fry for 2-3 minutes on each side, or until they turn golden brown and crispy.
Step 7: Serve and Enjoy
- Once cooked, remove the fried piroshki from the oil and drain them on paper towels to remove excess oil.
- Serve the chicken piroshki warm, either as a delightful appetizer or a satisfying main dish, accompanied by a side of mayonnaise for dipping.
Tips & Tricks:
1. Keep the Dough Warm: Make sure to let the dough rise in a warm place to ensure a light and fluffy texture.
2. Experiment with Fillings: Feel free to get creative with the filling ingredients, such as using different meats, vegetables, or cheeses.
3. Seal the Edges Well: Properly sealing the piroshki will prevent the filling from leaking out during frying.
4. Control the Oil Temperature: Maintain the oil at the right temperature to achieve a crispy exterior without burning the dough.
5. Serve Fresh: Piroshki are best enjoyed fresh and hot, so try to fry them just before serving for maximum enjoyment.

Nutrition Information:
– Serving Size: 1 piroshki
– Calories: 350
– Total Fat: 18g
– Saturated Fat: 6g
– Cholesterol: 65mg
– Sodium: 400mg
– Total Carbohydrate: 30g
– Dietary Fiber: 2g
– Sugars: 2g
– Protein: 18g
How Do You Store The Leftovers?
To store leftover chicken piroshki, allow them to cool completely before transferring them to an airtight container. Refrigerate for up to 3 days and reheat in the oven or microwave before serving.
What Sides Would Complement Chicken Piroshki?
1. Fresh Garden Salad: The crispness of a mixed green salad with a tangy vinaigrette provides a refreshing contrast to the rich flavors of the piroshki.
2. Roasted Vegetables: A medley of roasted vegetables such as bell peppers, zucchini, and cherry tomatoes adds a colorful and nutritious accompaniment.
3. Russian Slaw: A classic Russian slaw made with cabbage, carrots, and a creamy dressing offers a creamy and crunchy side dish option.
What Alternatives Can You Use for the Ingredients If They Are Not Present in Your Kitchen?
1. Dough Alternatives: If you don’t have all-purpose flour, you can use bread flour or whole wheat flour as substitutes.
2. Filling Substitutions: Feel free to swap the chicken and sausage with alternative proteins such as ground beef, turkey, or tofu for a vegetarian option.
3. Spice Variations: Customize the seasoning by using paprika, cumin, or chili powder in place of curry for a different flavor profile.
4. Cheese Options: If you prefer a tangier flavor, swap mozzarella for feta cheese or cheddar for a sharper taste.
Chicken Piroshki Recipe
Equipment
- Bowl
- Plastic wrap
- rolling pin
- Frying pan
- pastry brush
Ingredients
- 400 g all-purpose flour
- 1 teaspoon s granulated sugar
- 1 pinch salt
- 400 ml seed oil for the frying
- Egg 1
- 4 g yeast
- 300 g whole milk lukewarm
- all-purpose flour to roll out the dough
- 2 tablespoon s olive oil
- Mozzarella cheese: 200 g
- Sausage 150 g
- 2 Medium onion
- 100 g mayonnaise
- 1 teaspoon s curry
- 1 tablespoon s coriander
- 1 tsp or to taste Black pepper
- 300 g chicken cooked
- Mayonnaise
Instructions
- Begin by combining lukewarm whole milk, yeast, granulated sugar, and olive oil in a bowl. Stir the mixture well until the yeast is dissolved, then set it aside for 5-10 minutes to activate.
- Once the yeast is activated, add all-purpose flour and a pinch of salt to the bowl. Mix everything together until a dough forms.
- Transfer the dough onto a floured surface and knead it for about 5-7 minutes until it becomes smooth and elastic. You can also use a stand mixer with a dough hook attachment for this step.
- Place the kneaded dough back into the bowl, cover it with plastic wrap, and let it rise in a warm place for about 1-1.5 hours, or until it doubles in size.
- While the dough is rising, prepare the chicken filling. In a separate bowl, mix together cooked chicken (cut into small cubes), sausage, curry powder, finely chopped coriander, mayonnaise, diced onions, grated mozzarella cheese, and black pepper. Ensure all ingredients are well combined.
- Once the dough has doubled in size, punch it down to release any air bubbles. Divide the dough into 8 equal portions.
- On a floured surface, roll out each portion of dough into a 10 cm round sheet. If the dough is sticky, dust it lightly with flour.
- Spoon a portion of the prepared chicken filling onto the center of each dough round.
- Moisten the edges of each dough round with water using a pastry brush.
- Fold the dough rounds diagonally over the filling, forming triangle-shaped parcels. Press the edges firmly to seal the filling inside.
- Heat seed oil in a frying pan over medium heat until hot.
- Carefully place the assembled piroshki in the hot oil, working in batches if necessary. Fry for 2-3 minutes on each side, or until they turn golden brown and crispy.
- Once cooked, remove the fried piroshki from the oil and drain them on paper towels to remove excess oil.
- Serve the chicken piroshki warm, either as a delightful appetizer or a satisfying main dish, accompanied by a side of mayonnaise for dipping.
Notes
- Keep the Dough Warm: Make sure to let the dough rise in a warm place to ensure a light and fluffy texture.
- Experiment with Fillings: Feel free to get creative with the filling ingredients, such as using different meats, vegetables, or cheeses.
- Seal the Edges Well: Properly sealing the piroshki will prevent the filling from leaking out during frying.
- Control the Oil Temperature: Maintain the oil at the right temperature to achieve a crispy exterior without burning the dough.
- 5. Serve Fresh: Piroshki are best enjoyed fresh and hot, so try to fry them just before serving for maximum enjoyment.
Nutrition
Frequently Asked Questions:
Q1. Can I Freeze Chicken Piroshki?
Yes, you can freeze unbaked piroshki on a baking sheet before transferring them to a freezer-safe bag. Bake directly from frozen, adding a few extra minutes to the cooking time.
Q2. Is It Possible to Bake Instead of Fry?
While traditionally fried, you can bake piroshki in a preheated oven at 375°F (190°C) for approximately 20-25 minutes, or until golden brown.
Q3. Can I Make Mini Piroshki for a Party?
Absolutely! Simply reduce the dough circles’ size and fill with a smaller amount of the filling for bite-sized piroshki perfect for gatherings.
Q4. How Can I Make These Piroshki Spicier?
Add a pinch of cayenne pepper, hot sauce, or diced jalapeños to the filling mixture for an extra kick of spiciness.
Q5. Can I Use Pre-made Dough?
While homemade dough yields the best results, you can use store-bought biscuit dough or puff pastry in a pinch for a quicker alternative.
Q6. Are Chicken Piroshki Reheatable?
Reheat piroshki in a toaster oven or regular oven at a low temperature to prevent the dough from becoming soggy.
Conclusion:
As I bring this culinary voyage to a close, I hope you’ve gained a newfound appreciation for the delectable world of chicken piroshki. From its humble origins to its irresistible flavors and versatile nature, this dish truly embodies the essence of comfort food with a gourmet twist.
So, gather your ingredients, roll up your sleeves, and embark on your own piroshki-making adventure. With each golden parcel you create, you’ll be savoring a taste of tradition and culinary creativity that knows no bounds. Bon appétit!