As a kid, my fascination with magic knew no bounds. The idea of things beyond explanation or comprehension always intrigued me. And then, I discovered magic candy. Yes, you read that right – magic candy! It wasn’t the kind of candy you could find at the store.
It was something special, something extraordinary. Let me take you on a journey through the world of magic candy, a sweet treat that will leave you spellbound.

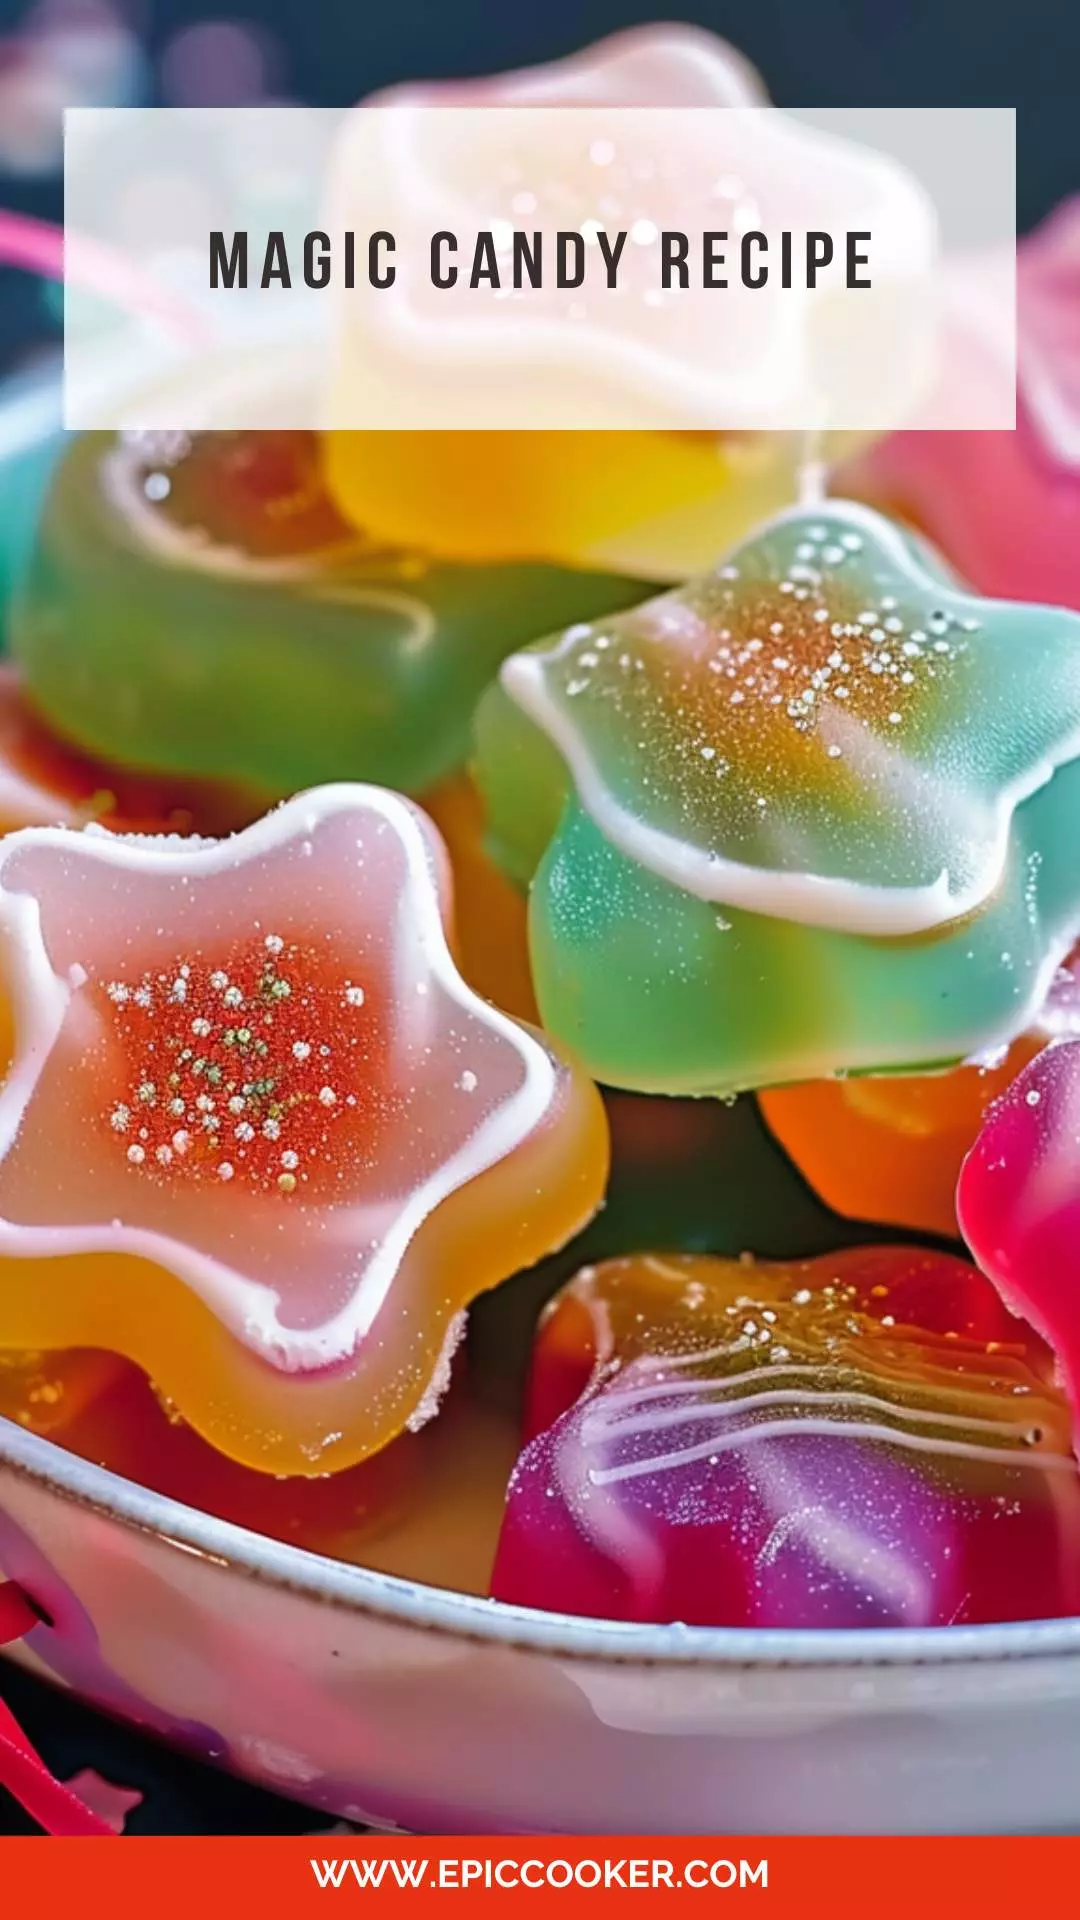
What is Magic Candy?
Magic candy is not your ordinary sweet treat. It’s a confectionery delight that combines the art of candy-making with a touch of magic. The magic lies in its ability to transform simple ingredients into a mesmerizing and delectable candy that will leave you craving for more.
With just a few pantry staples and a sprinkle of imagination, you can create your own batch of magic candy that will dazzle your taste buds.
What Does It Taste Like?
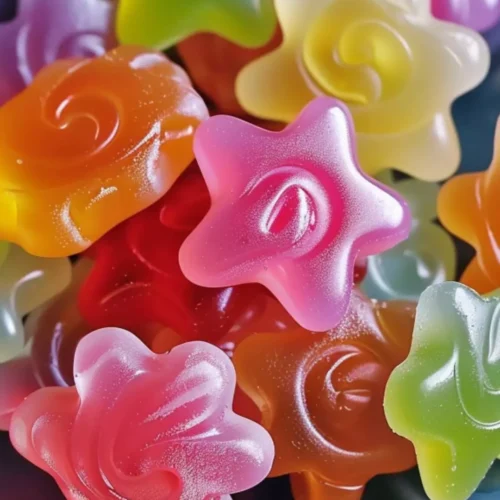
The beauty of magic candy lies not just in its appearance but also in its taste. Imagine biting into a piece of candy that starts off sweet and then surprises you with a burst of flavor that lingers on your palate.
That’s the magic of magic candy. It can be sweet, tangy, fruity, or even a combination of flavors, depending on the recipe you choose. The best part is that you can customize the flavor to suit your taste preferences, making each batch of magic candy truly unique.
You’ll also like the following Dessert recipes!
- Crisco Peanut Butter Cookie Copycat Recipe
- Del Monte Fruit Cocktail Cake
- How to make Jiffy Mix Peach Cobbler
Why This Recipe Works?
1. Perfect Balance of Sweetness: The combination of sugar, corn syrup, and butter creates a perfect balance of sweetness that is not overpowering.
2. Smooth Texture: The addition of butter helps create a smooth and creamy texture that melts in your mouth.
3. Vibrant Color: The use of food coloring adds a pop of color to the candy, making it visually appealing and engaging.
4. Versatile Ingredients: With just a few basic ingredients, you can create a magical treat that is sure to impress your friends and family.
Ingredients You’ll Need:
- Butter: Butter adds richness and flavor to the candy. It also helps to create a smooth and creamy texture in the final product.
- Light corn syrup: Corn syrup serves as a sweetener and also helps to prevent crystallization in the candy. It contributes to the chewy texture of the candy and enhances its sweetness.
- Sugar: Sugar is the main sweetening agent in the candy. It provides the desired level of sweetness and also helps to create the candy’s structure and texture.
- Salt: Salt balances the sweetness of the candy and enhances its overall flavor. It adds depth and complexity to the taste profile of the candy.
- Red food coloring: Food coloring is optional but adds visual appeal to the candy. It allows you to customize the candy’s appearance, making it festive and eye-catching, especially during holidays or special occasions.

Step by Step Directions:
Step 1: Prepare Cookie Cutters
Start by lightly buttering the insides of 18 (2-inch) open metal cookie cutters. Place them on a lightly buttered baking sheet. This step prevents the candy from sticking to the cutters during the shaping process. Set the prepared cookie cutters aside for later use.
Step 2: Cook the Candy Mixture
In a heavy 1-quart saucepan, combine 1/4 cup of Butter, 1/2 cup of light corn syrup, 3/4 cup of sugar, and a pinch of salt. Stir the mixture occasionally as it heats over medium heat. Let it come to a gentle boil, which should take about 5-8 minutes.
Step 3: Monitor Candy Temperature
Attach a candy thermometer to the side of the saucepan. Allow the mixture to continue cooking over low heat without stirring for approximately 15-20 minutes, or until the candy thermometer registers 280°F.
Alternatively, test the candy’s readiness by dropping a small amount into a bowl of ice water. It should form a hard brittle strand.
Step 4: Add Food Coloring
Once the candy mixture reaches the desired temperature, stir in 6 drops of red or green food coloring. Mix thoroughly to evenly distribute the color throughout the candy mixture. Adjust the amount of food coloring based on your preference for intensity.
Step 5: Fill the Cookie Cutters
Using caution, carefully spoon approximately 1 tablespoon of the hot candy mixture into each prepared cookie cutter on the baking sheet. Ensure that the candy is evenly distributed within each cutter and fills the shape completely. Allow the candy to cool and set.
Step 6: Remove Candy Shapes
Once the candy has cooled and solidified, gently remove each shape from the cookie cutters. You may need to wiggle or tap the cutters to release the candy shapes. Handle them carefully to prevent breakage.
Step 7: Serve and Enjoy
Your homemade magic candy is now ready to be enjoyed! Serve these delightful treats as a sweet snack or use them to decorate desserts, cakes, or cupcakes. Share them with friends and family to spread a little magic and joy. Enjoy the enchanting flavors and festive colors!
Notes:
– Use a candy thermometer to ensure the candy reaches the right temperature.
– Be careful when working with hot sugar as it can cause burns.
– Allow the candy to cool completely before cutting into pieces.
– Store the magic candy in an airtight container to maintain freshness.
– Experiment with different flavors and colors to create your own unique magic candy variations.

Nutrition Information:
– Calories: 120 per serving
– Total Fat: 3g
– Sodium: 30mg
– Total Carbohydrates: 23g
– Sugars: 20g
– Protein: 0g
How To Store The Leftovers?
To store the leftovers, wrap the magic candy in wax paper and place it in an airtight container. Store at room temperature for up to two weeks.
Sides For Magic Candy:
– A scoop of vanilla ice cream complements the sweetness of the magic candy.
– A cup of hot chocolate makes for a cozy pairing with the magic candy.
– Fresh fruit, such as strawberries or pineapple, provides a refreshing contrast to the richness of the candy.
– A glass of sparkling water cleanses the palate after indulging in the magic candy.
What are some alternative choices to the ingredients in case they are not in your pantry?
– Butter: You can substitute butter with margarine or coconut oil for a dairy-free option.
– Corn Syrup: Honey or maple syrup can be used as a substitute for corn syrup.
– Sugar: You can use brown sugar or coconut sugar as alternatives to white sugar.
– Food Color: Natural food colorings, such as beet juice or turmeric, can be used to add color to the candy.
Magic Candy Recipe
Equipment
- Metal cookie cutters (18, 2-inch open)
- Baking sheet
- Heavy 1-quart saucepan
- Candy thermometer
- Bowl of ice water
Ingredients
- 6 drops red food color
- 1/4 cup Butter
- salt
- 1/2 cup light corn syrup
- 3/4 cup powdered sugar
Instructions
- Start by lightly buttering the insides of 18 (2-inch) open metal cookie cutters. Place them on a lightly buttered baking sheet. This step prevents the candy from sticking to the cutters during the shaping process. Set the prepared cookie cutters aside for later use.
- In a heavy 1-quart saucepan, combine 1/4 cup of Butter, 1/2 cup of light corn syrup, 3/4 cup of sugar, and a pinch of salt. Stir the mixture occasionally as it heats over medium heat. Let it come to a gentle boil, which should take about 5-8 minutes.
- Attach a candy thermometer to the side of the saucepan. Allow the mixture to continue cooking over low heat without stirring for approximately 15-20 minutes, or until the candy thermometer registers 280°F.
- Alternatively, test the candy’s readiness by dropping a small amount into a bowl of ice water. It should form a hard brittle strand.
- Once the candy mixture reaches the desired temperature, stir in 6 drops of red or green food coloring. Mix thoroughly to evenly distribute the color throughout the candy mixture. Adjust the amount of food coloring based on your preference for intensity.
- Using caution, carefully spoon approximately 1 tablespoon of the hot candy mixture into each prepared cookie cutter on the baking sheet. Ensure that the candy is evenly distributed within each cutter and fills the shape completely. Allow the candy to cool and set.
- Once the candy has cooled and solidified, gently remove each shape from the cookie cutters. You may need to wiggle or tap the cutters to release the candy shapes. Handle them carefully to prevent breakage.
- Your homemade magic candy is now ready to be enjoyed! Serve these delightful treats as a sweet snack or use them to decorate desserts, cakes, or cupcakes. Share them with friends and family to spread a little magic and joy. Enjoy the enchanting flavors and festive colors!
Notes
- Use a candy thermometer to ensure the candy reaches the right temperature.
- Be careful when working with hot sugar as it can cause burns.
- Allow the candy to cool completely before cutting into pieces.
- Store the magic candy in an airtight container to maintain freshness.
- Experiment with different flavors and colors to create your own unique magic candy variations.
Nutrition
Frequently Asked Questions:
Q: Can I use a different type of sugar for this recipe?
A: Yes, you can experiment with different types of sugar, such as brown sugar or coconut sugar, to alter the flavor profile of the magic candy.
Q: Is it necessary to use food coloring?
A: While food coloring adds a fun and vibrant touch to the candy, it is not necessary. You can omit the food coloring or use natural alternatives for a more subtle hue.
Q: Can I add nuts or dried fruits to the magic candy?
A: Yes, you can customize the magic candy by adding chopped nuts, dried fruits, or even shredded coconut for added texture and flavor.
Q: How long does it take for the magic candy to set?
A: The magic candy will need to cool and harden after cooking, which may take a few hours. It is best to let it set at room temperature before cutting into pieces.
Conclusion:
In the world of sweet treats, magic candy stands out as a unique and delightful confection that is sure to dazzle your senses. With its perfect balance of sweetness, smooth texture, and vibrant colors, magic candy offers a magical experience with every bite.
Whether you’re a seasoned candy-maker or a novice in the kitchen, this recipe is easy to follow and will yield impressive results. So, why not sprinkle a little magic into your day with a batch of homemade magic candy? Trust me, your taste buds will thank you for it.
You’ll also like these latest recipes!
- Amish Lime Pickle Copycat Recipe
- Lipton Mushroom Onion Soup Mix
- How to make Dromedary Gingerbread Mix